4 Best Spring Nail Colors & Manicure Trends 2019


IPSY Editors


ipster Neo’s (@neonguyen) starry mani might look like some high level artistry, but it’s actually so easy to recreate. To get the look, all you’ll need is a base coat, top coat, and some star-shaped glitter from a craft store. Start by applying a base coat and letting it dry. Then pour a small pile of the glitter and a bit of top coat onto a piece of aluminum foil. Dip a toothpick in the top coat, then use that to pick up a single star and place it on your nail, pressing down where you want it to stay. Let it dry for a few minutes, then finish with a thin layer of top coat. So quick, so chic, and so fun. You’ll be seeing stars all spring.




It's about glam time you treated yourself.
SKILL LEVEL 2: GO FOR A GRADIENT
This pastel dip-dye nail surprisingly doesn’t require super-steady hands. The secret weapon? A super basic triangle makeup sponge. (You can find one in any drug store.) To get ipster Madeline’s (@madelineaford) look, first paint your nails with two coats of a light pastel polish shade. (Chelsea used a baby pink.) Then paint a stripe of two different colors of polish across the end of the sponge (for the green shade we love NAIL MEDIC Nail Polish in Rise & Slay), overlapping them a little bit to create the gradient effect. Press down onto your nails with the sponge several times until it looks like a really cool watercolor. Wait for that to dry completely, then finish with a top coat.

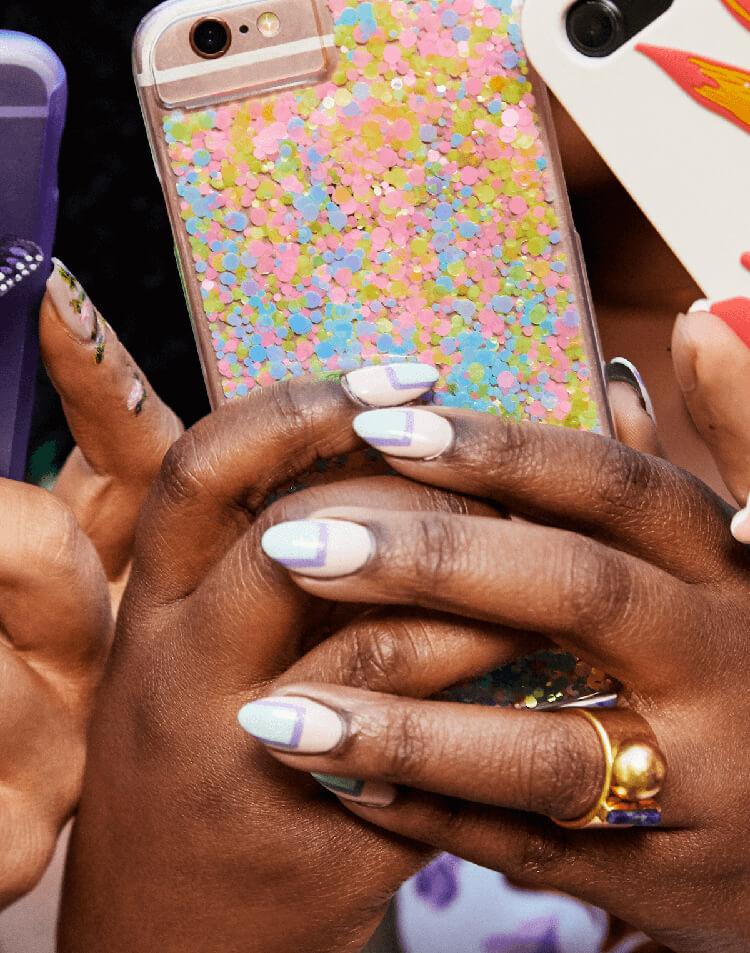
SKILL LEVEL 3: GET GEOMETRIC
ipsy creator Cydnee’s (@cydbee) off-center square mani may look like it requires a lot of tools, but you can totally freehand it. All you need is a really skinny brush and your fave polishes. Start by painting your nails with a layer of base coat. Then apply two coats of a light pastel shade (we used PRETTY WOMAN Nail Polish in Girl Boss) and let dry. Now it’s time to get graphic. Using the brush of a complementary pastel polish, paint a square shape onto your nail. Then take a super thin brush (you can get one at any art supply store) and clean up the edges, making the shape a 90-degree angle. Finish by filling in the small square with a third shade you love, letting it dry, and swiping a shiny top coat on those next-level nails.
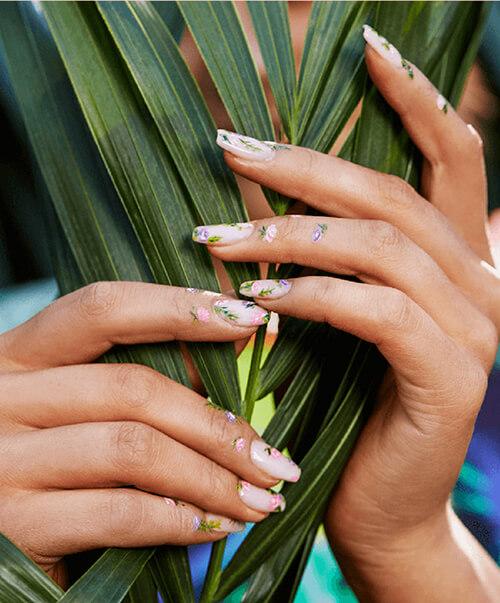
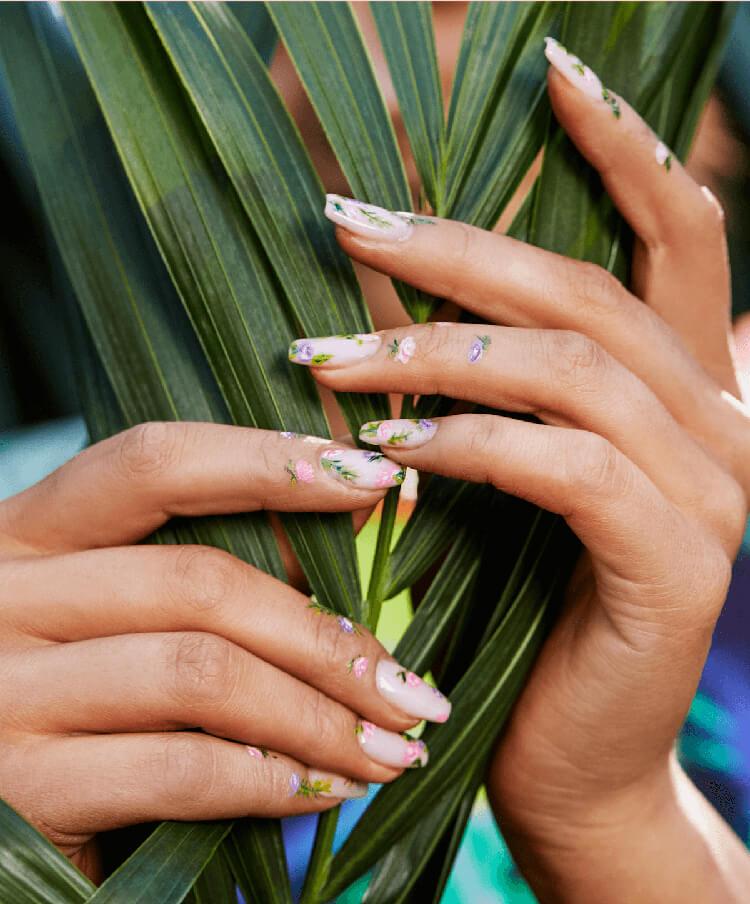
SKILL LEVEL 4: HAVE A GARDEN PARTY
Flower power, anyone? Creator Roxette’s (@roxettearisa) full-bloom mani is giving us all the spring feels. Wanna go for it? You got this! Start with a base coat and two coats of nude polish. Then, using different polish colors, paint circle shapes wherever you want your flowers to be. Go for abstract—oblong, lopsided, and off center circles will actually look more like real flowers than perfect circles. Next, dip a skinny acrylic paint or nail art brush in white polish and create little swirls inside the circles. For the leaves, you can use two shades of green to shade and really make them look two-tone, then finish with a top coat. And if you’re feeling extra artistic, continue your garden party onto your fingers, like Roxette. It’ll look so fresh and fierce for a night out.
SHEELA SOSKIN@MYFAVOURITENOUNipster, red lipstick fanatic, cat enthusiast
Liked this post? Share!
Related Stories


Nails
The Nail Art Trends Set to Take Over 2026
Published on Nov 25, 2025 • 6 min read


Nails
7 Nail Trends We’re Betting on for 2025
Published on Dec 10, 2024 • 6 min read


Nails
How to Apply Fake Nails at Home: A Beginners Guide
Published on Dec 5, 2023


Nails
What You Need to Know About SNS Nail for Your Next Mani Appointment
Published on Oct 6, 2022


Nails
25 Holiday Nail Art Ideas That’ll Make Your Mani the Star of the Season
Published on Oct 16, 2025 • 9 min read


Nails
26 Cute Thanksgiving Nail Ideas to Complete Your Holiday Look
Published on Oct 2, 2025 • 11 min read


Nails
20 Reasons Why We’re Obsessed With Glitter Nails Year-Round
Published on Sep 27, 2025 • 9 min read


Nails
51 Halloween Nail Ideas That Are All Treats, No Tricks
Published on Sep 16, 2025 • 9 min read


Beauty Picked Just for You
Get 5 products worth up to $70
Plus exclusive access to epic deals up to 80% off
Starting at just $14/month. Cancel anytime.