Go Retro & DIY This Vintage-Inspired ‘50s Makeup Look


IPSY Editors


Prepare your red lipstick and bust out your inkiest eyeliner: We're showing you how to create a classic 1950s retro makeup look with a 21st-century twist.
Thanks to the dawn of television and the golden age of cinema, Hollywood reigned supreme in the 1950s, and movie stars like Grace Kelly, Audrey Hepburn, Elizabeth Taylor, Sophia Loren, and Marilyn Monroe became beauty icons. Their makeup styles brought powder-soft skin, rosy cheeks, cat eyes, and flushed lips to the masses through the silver screen.
Fashion and makeup trends come and go, but if you ask us, the classic '50s makeup look never went out of style (and never will). The makeup tutorial below lives at the intersection of Old Hollywood glam and today's bold, dare-to-be-different mentality. Grab a cold cream soda and get ready to rewind.


It's about glam time you treated yourself.
What Did Classic '50s Makeup Look Like, Anyway?
Most of the archetypal 1950s makeup looks fall into one of three camps: pinup girl, silver screen siren, or the soft, natural look. If you've seen reruns of I Love Lucy, you probably have a good idea of the first. Rosy cheeks, bold red lips, and doe-eyed lashes made Lucille Ball's already expressive face jump off the screen—even in black and white. These makeup looks began on skin made matte with face powder, while eyeliner and mascara (and sometimes bright eye makeup, like blue eyeshadow) brought focus to the eyes. The pinup look was not entirely different, but it was more amped up—think more dramatic eye makeup and perfectly curled hairstyles.
Offscreen, everyday women interpreted these makeup looks with a natural yet chic flair. They paired feathery lashes with matte skin, just-bitten nude lips, and full and shaped brows, and defined cheekbones.
Consider the makeup look below a combination of the two. Play it up by swapping the nude lip for a bold red lipstick, or tone it down by skipping the graphic winged liner. However you wear it, there’s no doubt you’ll be a scene stealer.
What You'll Need
While the look might be vintage-inspired, you'll need a few modern makeup products to get started:
Mattifying primer: Set a flawless canvas with PIXI BEAUTY Flawless Beauty Primer. It's made of illuminating mica, plumping vitamins A, C, and E, and oil-absorbing agents that create a foundation for your foundation.
Matte foundation: A full-coverage liquid formula like REALHER Power Wear Probiotic Foundation in I Am Capable will give you a natural finish that doesn't look or feel cakey, even as you pile on the powder.
Concealer (optional): If you're sleepy or recovering from a breakout, use a concealer likeCOMPLEX CULTURE Letup Concealer to blend any under-eye circles or discoloration.
Translucent setting powder: Traditional setting powder will mattify your skin just fine, but a translucent one like TARTE’s Double Duty Beauty™ Shape Tape™ Setting Powder in Translucent takes things a step further with a soft-focus finish.
Light pink blush: The ever-popular contour didn't appear much in makeup looks in the 1950s. Instead, women used blush and rouge to define their cheekbones. Stay true to that aesthetic with PACIFICA BEAUTY Cherry Gold Highlighter & Blush in Rose Gold, Cherry Spirit, a glowy, pigmented, buildable blush.
Eye primer: Most '50s looks featured neutral and pastel shades on the eyes. Use THRIVE CAUSEMETICS Eye Lift 360° Waterproof Primer™ on its own or to create a smooth canvas for powder eyeshadow.
Liquid eyeliner: You'll want to use a liquid eyeliner with a superfine tip to draw on this graphic cat-eye. BABE LASH Enriching Liquid Eyeliner has an extra-precise applicator, and dries fast for jet black color in one swipe.
Lengthening mascara: We love HALF CAKED Totally Tubular Mascara, which makes lashes look extra-long and reaches even your shortest lashes for a feathery, Bambi-esque fringe.
Pinky nude lip color: Use a cream-based lip color for a soft satin finish. We love LAUREN CONRAD BEAUTY The Lipstick in Shell for a natural-looking pout.
Here’s How to Get the Look:
Natural enough to wear every day but chic enough to wear out, this is one retro look you won't want to leave in the past.
Step 1: Prep Your Skin
Start with your normal skincare routine, ending with moisturizer. Be sure to give it a few minutes to soak all the way in before smoothing or spraying on your primer.
Step 2: Apply Foundation
Conceal under your eyes and any blemishes if you need to, then apply your foundation. Use a brush for more coverage or a damp makeup sponge for less. To keep this look from feeling heavy, start with less foundation than you think you need and blend it out well before taking a second pass at any areas that need a little extra attention (and check out our complete guide for more tips on how to apply foundation).
Step 3: Apply Your Powder
Mattify and set your foundation by dusting translucent powder all over your face with a fluffy brush. You can also stipple the powder on with a makeup sponge or dense brush to bake your under-eye concealer. (Note: if you're using a liquid or cream blush, setting powder should be your very last step, otherwise the texture will get wonky.)
Step 4: Go Rogue with Rouge
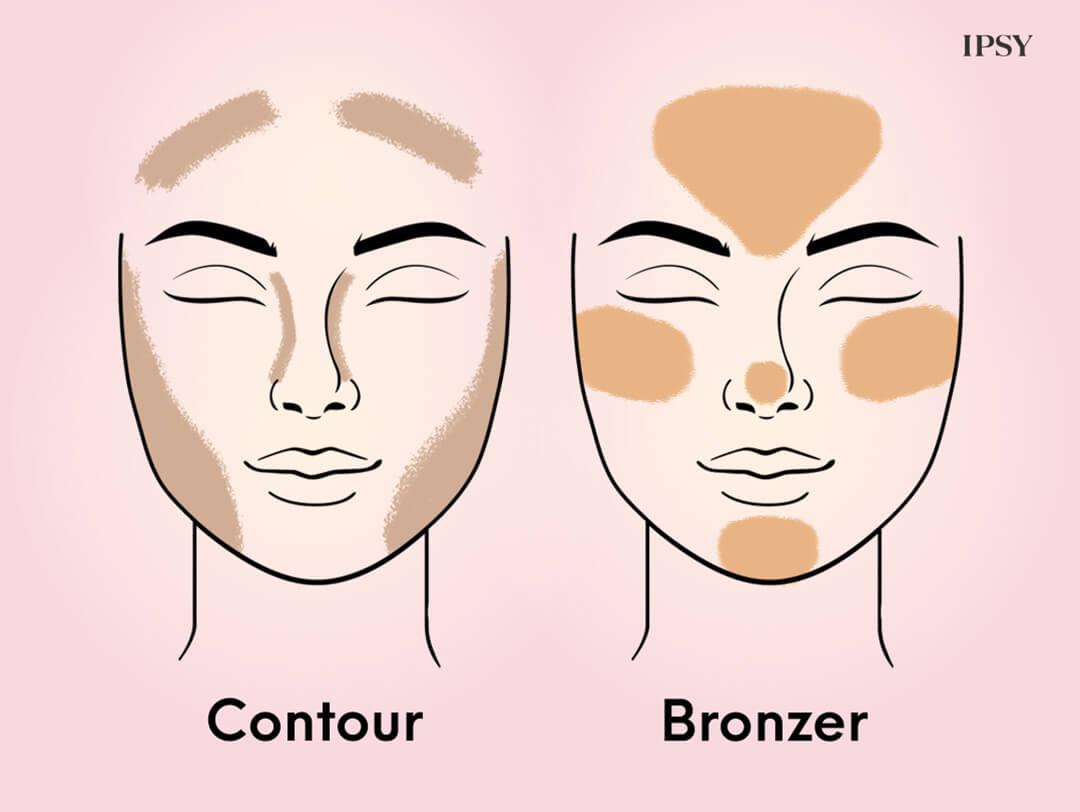
Vintage makeup looks treat blush and contour as one and the same. Use a blush brush or contour brush to punch up the apples and hollows of your cheeks.
Step 5: Wing It Out
Your eyeshadow primer will keep your graphic cat-eye from fading or smudging as the hours go by. Let it set for a minute before you line your eyes, starting about a third of the way in from the outer corners. Draw short strokes out and up toward your temple until you've made a flick about half an inch long. Then, draw a second line to meet the end, so it looks like a "<" symbol.
Step 6: Lift Your Lashes
Use an eyelash curler to get some extra lift and body before coating both sides of your lashes in mascara. To do this, close one eye and gently wiggle the mascara wand through your upper lashes, then open your eye and run the wand through your top lashes again from base to tip. Lightly coat your lower lashes, then repeat on your other eye.
Step 7: Dab on Lip Color
Use the tip of a lip brush to draw on the borders of your lips, then use the flat side to blot on the lip color. Rub your lips together to blend and then blot with a tissue if necessary to reduce shine.
Want to try personalized makeup picks every month with the IPSY Glam Bag? Take our Beauty Quiz now to get started. Already an Ipster? Refer your friends to earn points, which you can use toward products. Either way, don’t forget to check us out on Instagram and Twitter @IPSY.
Like this article? Share it with your friends by clicking the icons below!
Liked this post? Share!
Related Stories


Makeup
How to Expertly Apply Eyeshadow on Mature Skin
Published on Dec 10, 2025 • 6 min read


Makeup
How to Use Bronzer and Contour to Sculpt Your Face Like a Pro
Published on Dec 5, 2025 • 9 min read


Makeup
Makeup for Older Women That Works With Your Skin, Not Against It
Published on Dec 1, 2025 • 12 min read


Makeup
2026’s Biggest Makeup Trends Are a Maximalist Dream
Published on Dec 1, 2025 • 8 min read


Makeup
2025’s Biggest Makeup Trends: Go Big or Go Home
Published on Dec 13, 2024 • 7 min read


Makeup
16 New Year’s Eve Makeup Ideas to Fashionably Ring in 2026
Published on Nov 25, 2025 • 10 min read


Makeup
Your 2026 Beauty Horoscope Is Here—and the Stars Are Serving Looks
Published on Nov 25, 2025 • 9 min read


Makeup
Holiday Party Makeup Ideas for When You Want to Go Full Festive
Published on Nov 24, 2025 • 9 min read


Beauty Picked Just for You
Get 5 products worth up to $70
Plus exclusive access to epic deals up to 80% off
Starting at just $14/month. Cancel anytime.