How to Use Color Correcting Makeup, Explained


IPSY Editors

You might have thought there was only so much you could do to mask under-eye dark circles, acne scars, and other forms of stubborn skin tone discolorations. Sure, full-coverage concealers and foundations do the trick to hide most dark spots and hyperpigmentation, but sometimes you need a little bit more for those days when it seems like that one pimple just won’t cooperate or those pesky post-all-nighter dark circles just won’t fade away.
Enter: color correcting makeup. If you haven’t heard of it, you’re not alone. Color correcting is a makeup technique that uses pastel-tinted concealers (think: green, yellow, and lilac) to blur and erase any apparent skincare woes. Makeup artists have been relying on this handy trick for years, but only recently has it found its way into the mainstream cosmetics world.
Ready to try your hand at it? We put together this complete guide to color correction with step-by-step instructions for you to start color correcting like a pro. Continue reading below and be on your way to flawless skin in no time.
First, What is Color Correcting?
Color correcting is all about matching the color of whatever imperfection you want to hide with its polar opposite on the color wheel (AKA, its complementary color). Unlike using just regular concealer, using a color correcting shade in a complementary color will essentially neutralize whatever imperfection you want to hide.
Thankfully, most of your favorite makeup brands likely already offer color correction palettes and concealers. And once you learn which color correctors are best for which kinds of dark spots and red areas, you’ll have an easy time adding this magic trick to your daily makeup routine.
How to Color Correct, Step-by-Step

Step 1: Identify where you want to color correct.
What makes color correcting so effective is how targeted it is: certain colors work best with very specific corresponding forms of discoloration. Before you start color correcting, identify exactly what exactly you want to correct: dark under-eye circles from lack of sleep? Redness from rosacea or blemishes? Dark spots from aging or sun damage? Dull skin patches from poor circulation? Whichever you decide to target, we’ve got you covered below:
To color correct dark circles: When it comes to correcting pesky under-eye circles, think sunny colors. Peach shades are the best for neutralizing dark colors on most skin tones: try the PACIFICA BEAUTY Dark Circle Rehab Concentrated Correcting Creams.
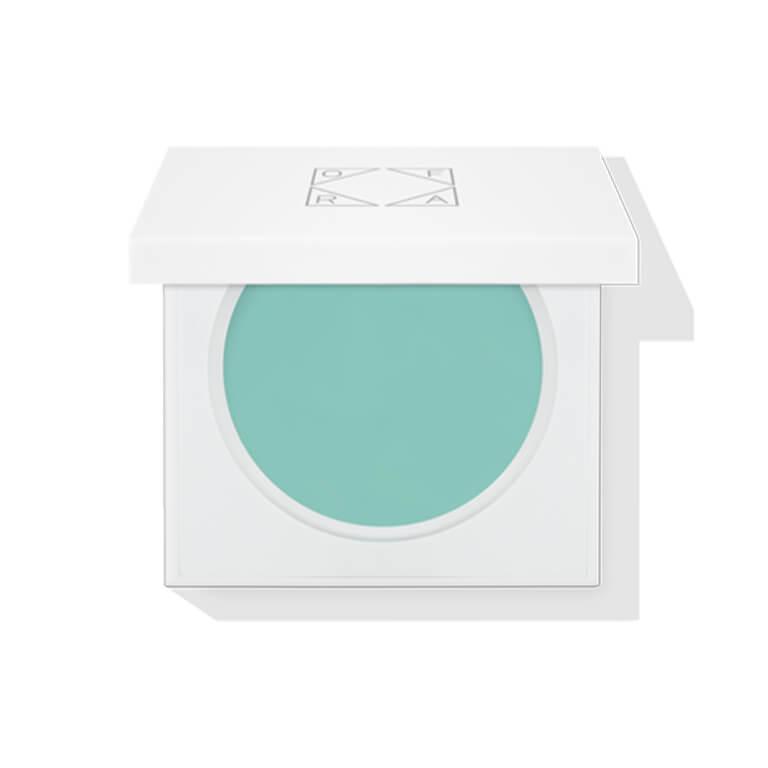
To color correct redness: Green is the antidote to all things red and rosy, like blemishes, inflammation, and blotchiness. Try this mint green corrector pot from OFRA COSMETICS or the green concealer from this complete BELLAPIERRE Color Correcting Palette. They melt into skin seamlessly and work on any skin tone.
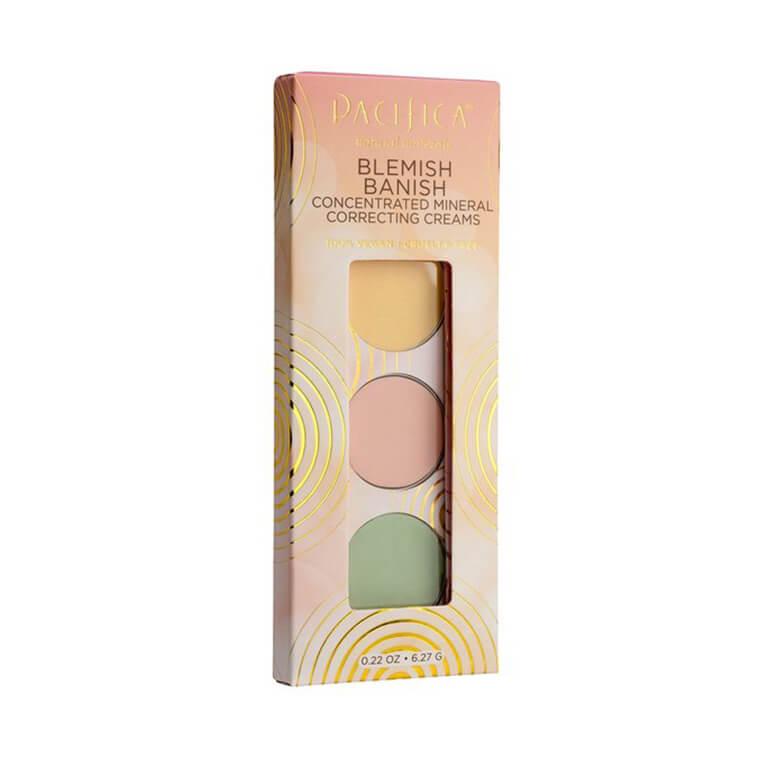
To color correct dark spots: Discoloration and age spots are no match for yellow. The bright yellow color in this PACIFICA BEAUTY Blemish Banish or this OFRA COSMETICS yellow corrector pot will illuminate any signs of hyperpigmentation until they're no longer visible.
To color correct dull skin: Feeling dehydrated? if your skin is lacking its usual liveliness, try using lilac and purple tones, like OFRA COSMETICS Corrector Pot in Lilac. This color correcting shade will eliminate any dullness and sallowness in your skin tone, for bright, refreshed skin.
Step 2: Apply color correcting primer.
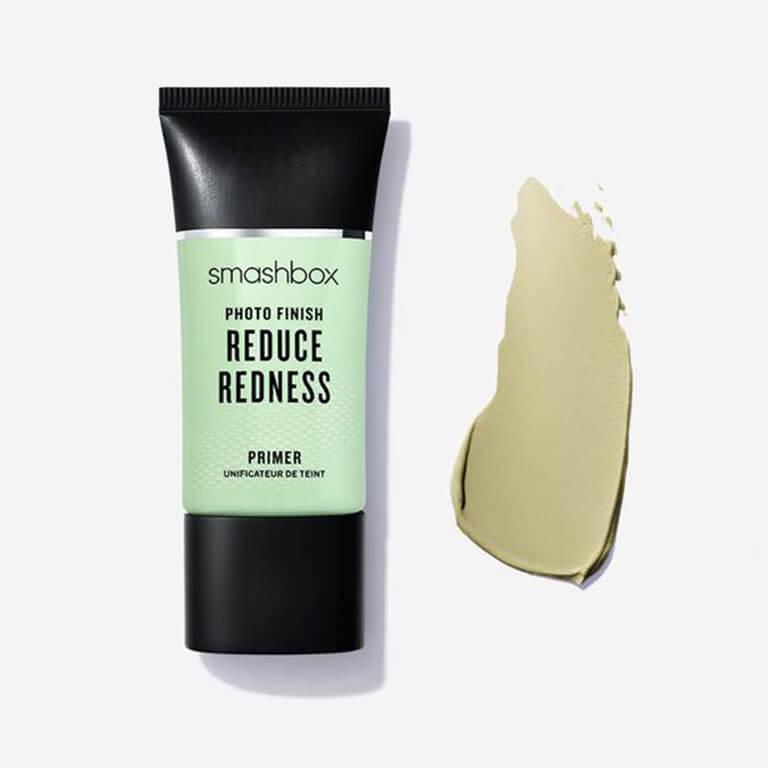
In many cases, it can be helpful to use a color-correcting primer in addition to your color-correcting concealer. Apply this SMASHBOX COSMETICS Photo Finish Reduce Redness Primer all over your face before going in with any face makeup to balance out your skin tone and prevent red patches from popping up later.
Step 3: Apply your color correction.
This step comes before all your other makeup (foundation, bronzer, blush, etc.) so that you have a totally neutral, color-corrected canvas to work with. The key is to blend your color correcting colors in well, so that the color neutralizes on your skin. You'll also want to blend any other face makeup you apply on top with gentle, stippling motions so as not to disturb or mix the color corrector beneath it.
For dark circles: Swipe peach color corrector over your dark circles in a “V” shape, so the tops of the "V" are at the inner and outer corner of your eye. Blend the "V" shape into your under-eye area using a small concealer brush.
For redness: Apply green color corrector wherever you need it most. For many people, this means swiping around your nostrils and the apples of your cheeks, which are particularly prone to redness. Blend with a small concealer brush.
For dark spots and blemishes: Apply dots and short swipes of yellow color corrector directly onto your dark spots. Blend with a small concealer brush.
For dullness: Draw lavender color corrector in stripes down your cheeks and dab it in short, horizontal swipes under your eyes, or wherever your face is in most need of some radiance. Blend with a small concealer brush.
Step 4: Apply your foundation.
Once you’ve fully blended in your color correcting concealer, let it set and dry. The next step to get an even complexion is foundation. Using a large foundation brush, such as this fluffy yet dense COMPLEX CULTURE Angled Foundation Brush, will allow for maximum, full coverage. Not sure how to apply foundation with a brush? Check out our full guide to applying foundation with a brush here.

Step 5: Apply concealer if needed.
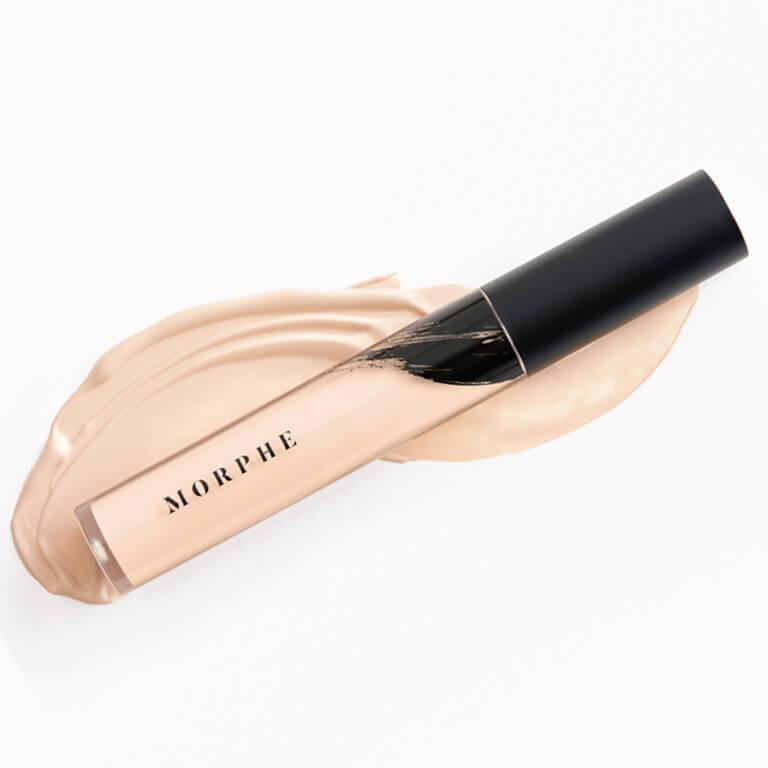
Add a touch of concealer on top of your color corrector and foundation for good measure. We recommend this MORPHE Fluidity Full Coverage Concealer for a lightweight, full-coverage look that won't look cakey or crease on top of the rest of your makeup.
Step 6: Set with powder + spray.
With all of those steps out of the way, you want to make sure your fresh, flawless face stays looking that way. Setting powders and setting sprays are great finishing touches to ensure your foundation, concealer, and eyeshadow don’t melt away throughout the day. Spritz a few sprays of the TARTE Double duty beauty™ Shape Tape™ Stay Spray Setting Spray across your whole face. It’s like a weightless hairspray for your makeup, made with nourishing aloe and cucumber to keep your makeup set without drying out your skin.


It's about glam time you treated yourself.
Liked this post? Share!
Related Stories
Makeup
How to Expertly Apply Eyeshadow on Mature Skin
Published on Dec 10, 2025 • 6 min read

Makeup
How to Use Bronzer and Contour to Sculpt Your Face Like a Pro
Published on Dec 5, 2025 • 9 min read


Makeup
Makeup for Older Women That Works With Your Skin, Not Against It
Published on Dec 1, 2025 • 12 min read


Makeup
2026’s Biggest Makeup Trends Are a Maximalist Dream
Published on Dec 1, 2025 • 8 min read


Makeup
2025’s Biggest Makeup Trends: Go Big or Go Home
Published on Dec 13, 2024 • 7 min read


Makeup
16 New Year’s Eve Makeup Ideas to Fashionably Ring in 2026
Published on Nov 25, 2025 • 10 min read


Makeup
Your 2026 Beauty Horoscope Is Here—and the Stars Are Serving Looks
Published on Nov 25, 2025 • 9 min read


Makeup
Holiday Party Makeup Ideas for When You Want to Go Full Festive
Published on Nov 24, 2025 • 9 min read


Beauty Picked Just for You
Get 5 products worth up to $70
Plus exclusive access to epic deals up to 80% off
Starting at just $14/month. Cancel anytime.