How to Overline for Natural-Looking, Fuller Lips


Katrina Mitzeliotis Lanza


Overlining your lips can give you an instantly fuller-looking pout—but if done wrong, it can make your lip lines look uneven, or your lips unnaturally plump. As someone who has been victimized by a case (or two) of sloppy overlining in the past, I can relate. From the Kardashians to our favorite social media stars, everyone seems to be overlining their lips before they pucker up to the camera. It’s no secret that the art of overlining makes it easy to achieve a fuller-looking pout without investing in lip injections, but overlining can be intimidating if you’ve never tried it before. Luckily, you’ve come to the right place. We turned to a pro for the do’s and don’ts of overlining lips, so you can DIY the lips of your dreams—no injectables needed.
John Stapleton, senior national artist at M·A·C Cosmetics, says to not be afraid of a little trial and error, especially if it’s the first time you’re trying the overlining technique. “Just be open and play,” Stapleton says. “Unlike injectables, it always comes off.” While the idea of stepping out with lip liner above your natural lips might be daunting, all it takes is a little bit of practice and the right products to create perfectly full lips.


It's about glam time you treated yourself.
How to Overline Lips:
1. Prep your lips
While you may be eager to break out your lip liner and start lining, it’s important to exfoliate and moisturize your lips regularly the same way you would your face and body. Using a lip scrub and moisturizing lip balm will help your products glide on smoothly and won’t flake or bleed throughout the day.
OK, now since you’re going to be overlining, you need to pay attention to the area above your lips (aka above your Cupid’s bow) where there tends to be light hair. Stapleton says forgetting about the hair above the lip line is a common mistake with first-time overliners. “We all have peach fuzz,” he says. “If you’re too heavy-handed with a pencil it just balls up and that’s not the look you’re going for.” Want to avoid this rookie error? “Make sure your lip is waxed [or plucked] so that you don’t grab any of the hairs on top,” Stapleton says.
2. Find the right color
The secret to successful overlining starts with the shade of lip pencil you select. While you can go with a pencil that has the same undertones as your natural lips, Stapleton recommends working with two pencils to achieve the most natural-looking results, “Start with a lighter pencil—usually a soft flesh tone that’s one shade lighter than your skin tone, and line the top of the lip just outside the natural lip line.” Next, fill in the area with a lip pencil that’s the same color as your natural lip. Stapleton adds, “Line into the lighter color that you created slightly above the lip line and slightly below the natural lip line [with a pencil] that closely matches your natural lip color.”
3. Highlight your Cupid’s bow
The Cupid’s bow is the heart-shaped peak of your top lip (or the middle of your upper lip). While some have perfectly defined peaks, others might have a less-defined cupid’s bow. A little highlighter can help give lips a more three-dimensional look and help guide you as you line them. “It makes it appear that the top portion of the lip is catching more light, because it is moving forward,” says Stapleton, who recommends using an angled brush to highlight the Cupid’s bow.
4. Shade your edges
Use a lip pencil to begin shading the corners of your lips, starting with the outer edges. This contours your lips and softens the line— just be sure your lip liner is super sharp for precise application. Stapleton also recommends reaching for a “long-wearing” lip liner that will last all day.
5. Remember—less is more
While we all might want a super plump pout, it’s best not to get carried away. Obviously overdrawn lips aren't the look you're going for. “Stay within a few millimeters to keep it real,” Stapleton says. Follow your natural lip line as a guide and gradually build from there as you enhance your upper and bottom lip. Stapleton says that if you can “barely fit a pencil between your nose and your lips” you’ve gone too far.
6. Soften those edges
While you might think a defined line is the secret to pulling off the perfect overline, in order to achieve a more natural finish, it’s helpful to take the slightly damp edge of a q-tip and lightly drag it along the outline of your lips. This helps to soften stark lines for a seamless look. You can also soften the edges with a lip brush.
7. Fill in your lips
Now that you’ve perfected your lip liner, it’s time for lipstick. A long-wearing formula like a matte lipstick or a liquid lipstick will ensure your overlined lip looks fresh and flawless. If you want a really natural look, reach for a nude lip in a shade that’s similar to the color of the darkest lip liner you used. To play with dimension, you can use a lipstick color that’s slightly lighter than the liner. Use a lip brush to apply the lipstick and dab it on, starting with the center of your upper and lower lips, then gradually blend the color out to the corners of your mouth.
8. Add some dimension
While a matte lip has the most staying power, adding a little gloss to your lips will further accentuate them. “Lip gloss always adds fullness,” says Stapleton. Even if you add a subtle sheen to the center of your mouth, you can make your lips appear fuller by contouring the shape. “Try using something like an iridescent powder or eyeshadow with an angled brush just to add dimension into the top divet of the lip,” he adds.
Ready to try overlining? All you need to master it like a celebrity makeup artist is the right product. Read below for our 4 favorite products for beautiful, natural-looking, full lips.
1. TRUST FUND BEAUTY Lip Scrub


Prep your lips to ensure they’re soft and smooth so that your lipstick won’t flake throughout the day with this exfoliating lip scrub. It nourishes and moisturizes to get your lips pillowy soft before applying color.
2. JONTEBLU Lip Liner Pencil in Nude


In order to perfect the art of overlining, you need to have a sharp, long-wearing lip liner in your makeup kit. This flattering nude shade from JONTEBLU won’t disappoint, and the pointy tip makes it easy to create clean, crisp lines.
3. HUDA BEAUTY Liquid Matte


Huda Kattan (aka the queen of liquid lipstick) has an array of neutral shades in her line, so it’s easy to find a color that matches your skin’s undertones. This lightweight matte formula will last all day without smudging or fading. IPSY editors are especially fond of Bombshell, which is a rosy nude hue that is universally flattering on an array of skin tones.
4. NUDESTIX Lip Glace in Nude 04


Finish off your perfectly overlined lip with a little lip gloss to add subtle sheen and dimension to your look. This flattering rose-mauve shade goes with so many lip colors, and will keep your lips hydrated and gorgeous all day. Plus, it’s made with volumizing peptides for a plumping effect.
Want to experiment with new lip colors and tutorials? Take our Beauty Quiz now to get started. Already an Ipster? Refer your friends to earn points, which you can use toward products. Either way, don’t forget to check us out on Instagram and Twitter @IPSY.
Like this article? Share it with your friends by clicking the icons below!
Liked this post? Share!
Related Stories
Makeup
Want an IRL Filter? These Are the Best Blurring Foundations
Published on Dec 12, 2025 • 5 min read
Makeup
How to Expertly Apply Eyeshadow on Mature Skin
Published on Dec 10, 2025 • 6 min read

Makeup
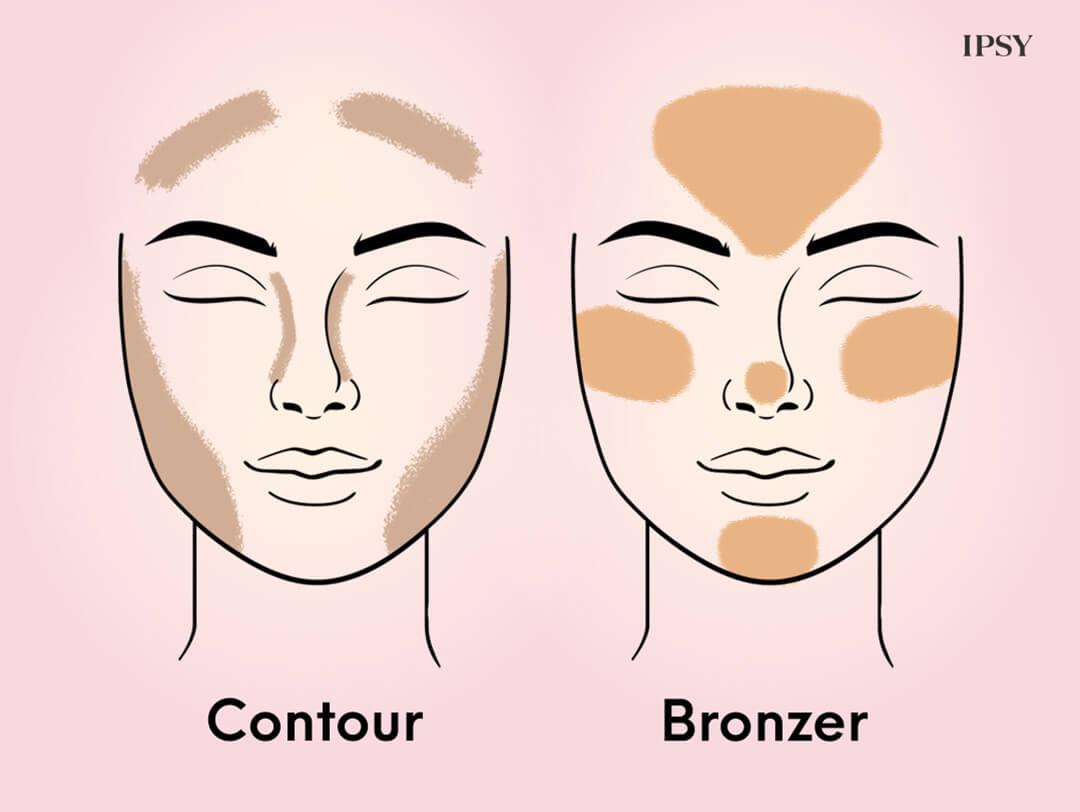
How to Use Bronzer and Contour to Sculpt Your Face Like a Pro
Published on Dec 5, 2025 • 9 min read


Makeup
Makeup for Older Women That Works With Your Skin, Not Against It
Published on Dec 1, 2025 • 12 min read


Makeup
2026’s Biggest Makeup Trends Are a Maximalist Dream
Published on Dec 1, 2025 • 8 min read


Makeup
2025’s Biggest Makeup Trends: Go Big or Go Home
Published on Dec 13, 2024 • 7 min read


Makeup
16 New Year’s Eve Makeup Ideas to Fashionably Ring in 2026
Published on Nov 25, 2025 • 10 min read


Makeup
Your 2026 Beauty Horoscope Is Here—and the Stars Are Serving Looks
Published on Nov 25, 2025 • 9 min read


Beauty Picked Just for You
Get 5 products worth up to $70
Plus exclusive access to epic deals up to 80% off
Starting at just $14/month. Cancel anytime.