The Patrick Ta Effect: Here’s How to Get His Signature Glowy Makeup From Patrick Himself


Maddie Aberman


The Patrick Ta face is as recognizable as Chanel’s double Cs, Julia Roberts' megawatt smile, and J. Lo’s iconic green Versace dress at the Grammy’s. His signature bright, glowy skin, tonal features, and wearable, red-carpet vibes are what keep celebrities coming back to work with Patrick time and time again. We’re not exaggerating here: Take a quick scroll through his Instagram to check out his A-list regulars, like Gigi Hadid, Olivia Munn, Chrissy Teigen, and now you (well, sort of!).
His debut Glam Bag x Patrick Ta collection—which drops February 2021—is like having insider access to Patrick, himself. So in honor of the collab, we asked the in-demand makeup artist to break down his go-to glam so you can recreate it at home. Keep scrolling for your front-row ticket to the ultimate Patrick Ta Masterclass.


It's about glam time you treated yourself.
8 Steps to the Patrick Ta Face:
1. Prep with skincare.
A perfected, radiant complexion like Jasmine Sanders’ (a.k.a. Golden Barbie) starts before you even touch a foundation brush. “I’ve found that when you apply foundation on dry skin or skin that’s not exfoliated, you’re better off not wearing any foundation because it looks so cakey and you can see all your texture,” says Patrick. “The more plump and hydrated your skin, the better you can wear foundation and concealer. A little extra prep always goes a long way.” Patrick’s prep go-tos: face oil, moisturizer, eye cream, then lip balm all worked into the skin using a facial massage tool, like COMPLEX CULTURE Sonic T-Bar Facial Massager.

2. Start with the eyes.
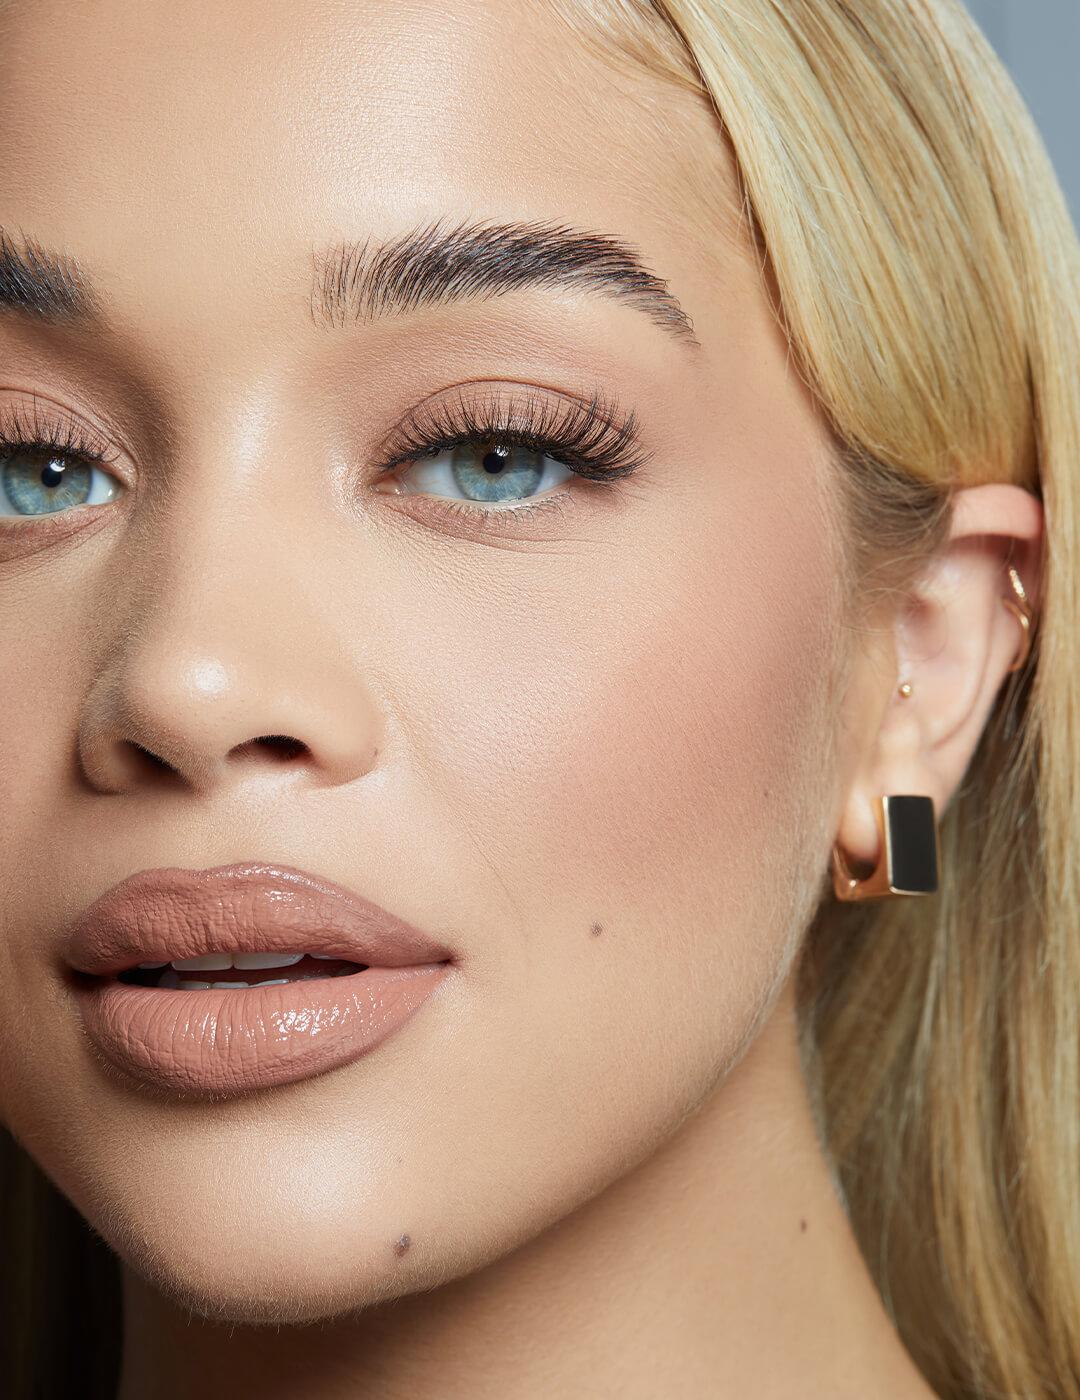
When you’re doing your own makeup, chances are your first step is foundation, but there’s a reason Patrick likes to start with eyeshadow. “This way I'm able to correct,” he says. “I like a nice, bright under eye, so if I have shadow fallout, I can just brush it away. It’s for safety.”
If you don’t know where to begin with eyeshadow, Patrick has a foolproof formula for you. Start by packing a neutral shade onto your lids (we love the shade Henna in HUDA BEAUTY Rose Gold Remastered Eyeshadow Palette, then blend it up and out. “Go back and forth with windshield wiper motions to move the pigment where you want it,” says Patrick. Then, take a similar shadow that’s one to two shades lighter, and work that into your crease, too. “I hate harsh lines, so if you think you’ve blended enough, blend a little bit more.”
Next, take a deeper tone of that first shade on a small dense brush, and run it along your outer lash line to add some depth. “It’s more diffused and soft than regular eyeliner,” he says. “I like makeup that you can wear in your everyday life, so I don’t like to do anything too harsh.” Last, pop a shimmery shade on the center of your lids. Hold off on your lashes for now. That part will come later.
Watch Patrick create a lived-in eyeshadow look here:
3. Complexion comes next.
When it comes to foundation for Patrick, less is more. “I like to apply foundation with a brush first, then I’ll go in with a clean sponge and really push the product in,” he says. Pro tip: Always start in the center of your face where people tend to need the most coverage, then blend out to the perimeter of your face.
Patrick then grabs a concealer one to two shades lighter than the skin tone, and uses it almost like a highlighter. With a concealer brush, paint it under the eyes in a small triangle, the center of the forehead, down the bridge of the nose, and on the chin. Similar to foundation application, he then goes in with a sponge to blend. “This is the part that brings the makeup look to life.”

4. Bring back some color.
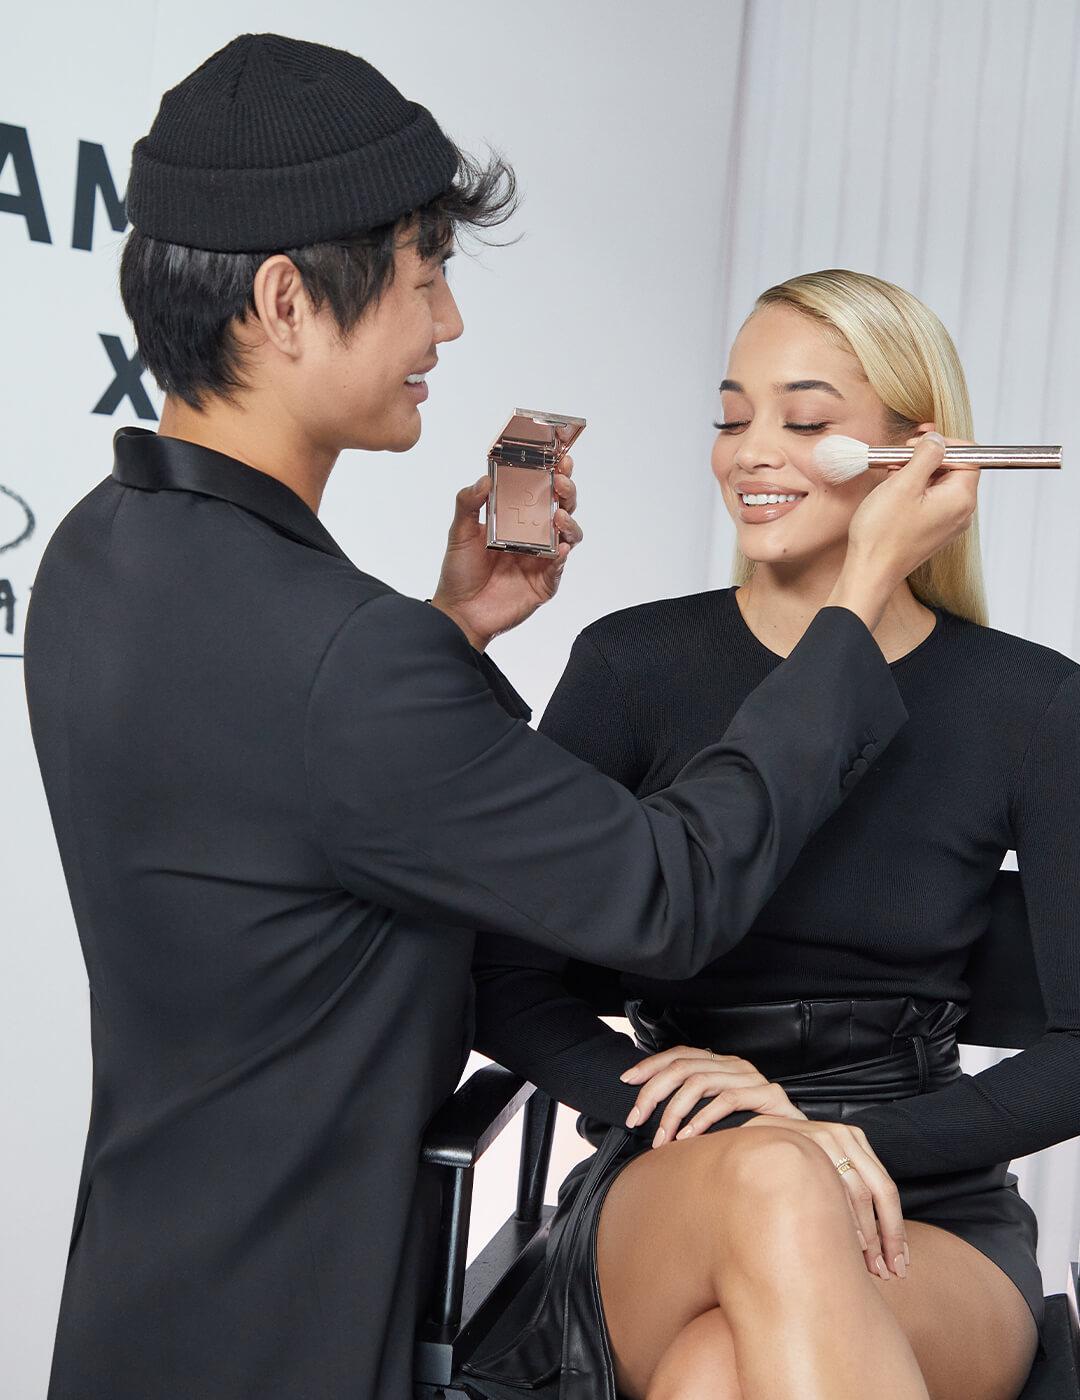
First up: contour. “I personally like to use cream contour because I think it blends better,” says Patrick. Using an angled fluffy brush, push the contour into the hollows of your cheekbones, halo of your forehead, and right under your jawline. For an easy blend, use the brush you used to apply your foundation. “I like to layer different textures,” says Patrick. “So after I add cream contour, I like to add a powder bronzer over top to add some more depth.”
Next comes blush, one of Patrick’s favorite steps. Apply blush to the apples of your cheeks in patting motions rather than swiping it on. “Now that foundation is on, I don’t like to move the brush back and forth and move the foundation that we worked so hard on.”
“I love monochromatic looks,” he says. “So I like to add a little bit of your blush right into the eye crease. By doing this it’s going to make the whole entire look more cohesive.” (PATRICK TA Monochrome Moment Velvet Blushes were made to go on your cheeks and your eyes!) Finish the skin with a little (like, really little) setting powder in the T-zone. “I don’t like to put too much powder on because I like for the skin to be more glowy.”
See Patrick use blush to create a monochrome look:

5. It’s brow time.
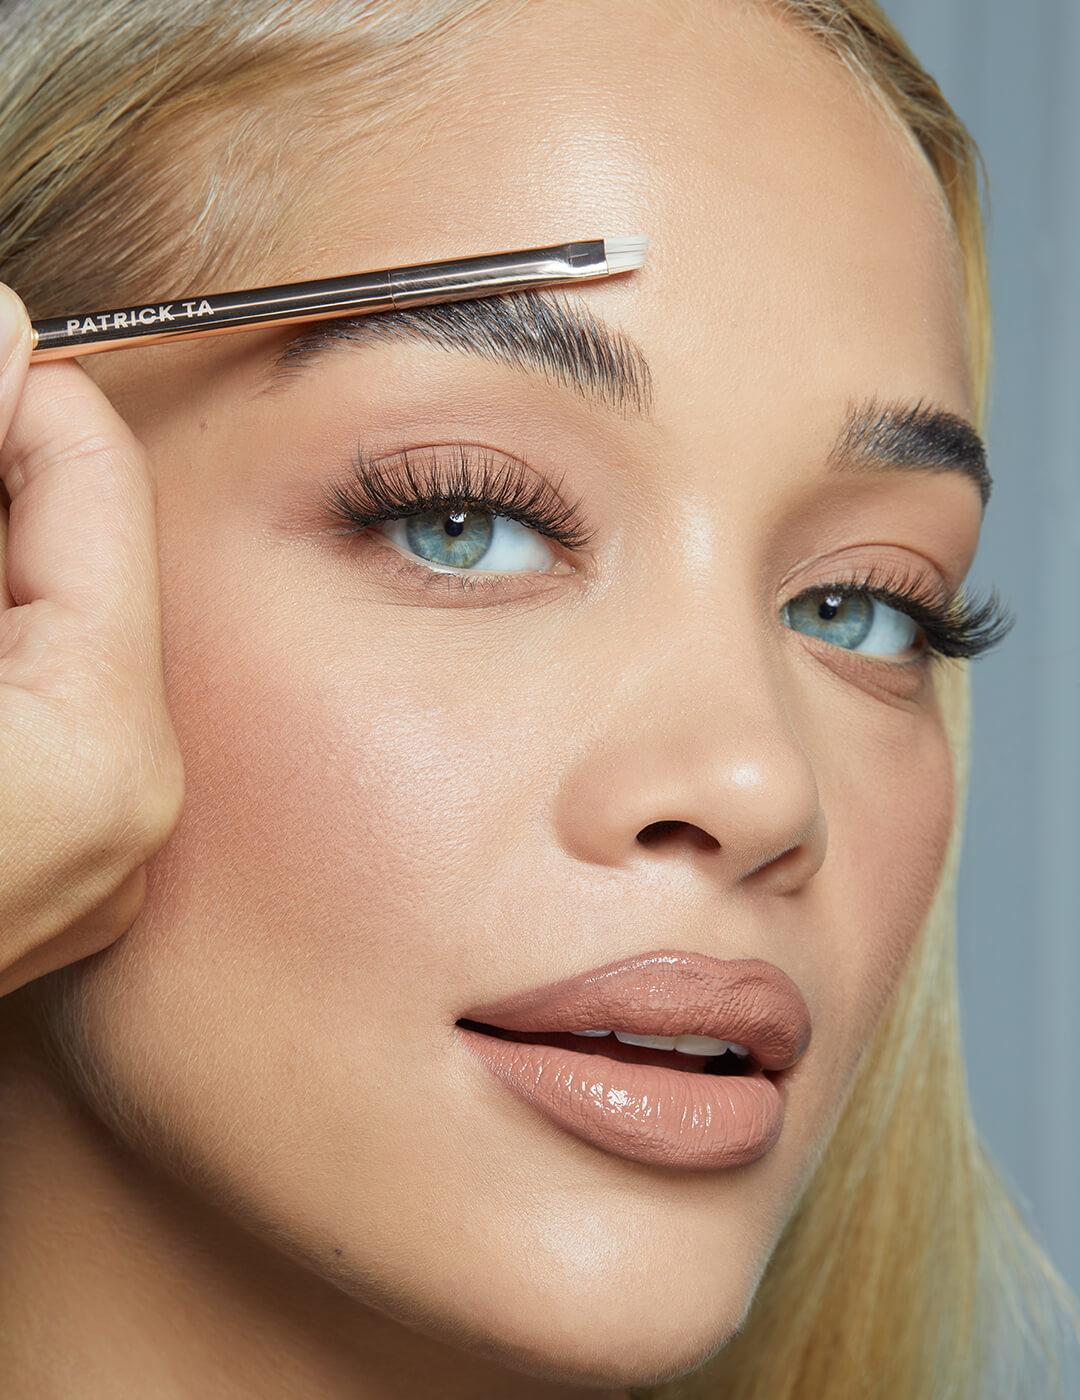
One thing all of Patrick’s celebrity clients have in common is a nice, natural, fluffy brow. Patrick’s secret: his Major Brow Shaping Wax. “Use short, upward motions to work it into the brow hairs with a spoolie brush,” says Patrick. “The trick to this product is allowing the shaping wax to dry back to its natural form for one to two minutes. Once it’s nice and stiff, you can mold and build the brow however you want.”
For that laminated look, use the handle of your brush to press the hairs up. This will put them in place and make your brows look instantly fuller, even without a brow pencil (which Patrick does add to any sparse spots after the wax, btw).
See Patrick’s Major Brow Shaping Wax in action:
6. Finish the eyes.
Your patience has been rewarded, it’s now time to add the finishing touches to your eyes. This means sweeping on some bottom eyeshadow to connect the look, curling lashes, applying a volumizing mascara (try PAT MCGRATH FETISHEYES™ MASCARA in Xtreme Black), and even adding some falsies if you’re feeling it. “I like waiting until the end for lashes so no foundation or powder gets on them,” says Patrick. “I like the lashes to be super black.”
To complete your shadow, run a bit of the neutral lid shade from above along your lower lash line, then tap that shimmery shadow right into your inner corners. “This is really going to brighten the inner corners, bring a little bit of light, and elongate the eyes,” says Patrick.
Finish with a lash curl, mascara on top and bottom, and a few individual lashes. “Apply them from the center of the eye toward the outside of the lashes, and add a little more mascara after to blend the natural lashes with the falsies,” he says.
7. Time for lips.
To cop Patrick’s pouty nude lip look, you’ll need a lip liner two to three shades darker than your lipstick. “I like to have my clients smile with their lips closed whenever I’m applying lip liner,” says Patrick. “It stretches out the skin a little bit and makes the application a little bit easier.”
Start at the center, and work your way out. “If you’re going to overdraw your lips, overdraw towards the center and always stay within your lip line as you get towards the edge,” he says. Go in with your lip color, and blot to blend. “The darker lip liner helps to add dimension because nudes can be very non-dimensional.”

8. Bring on the glow.
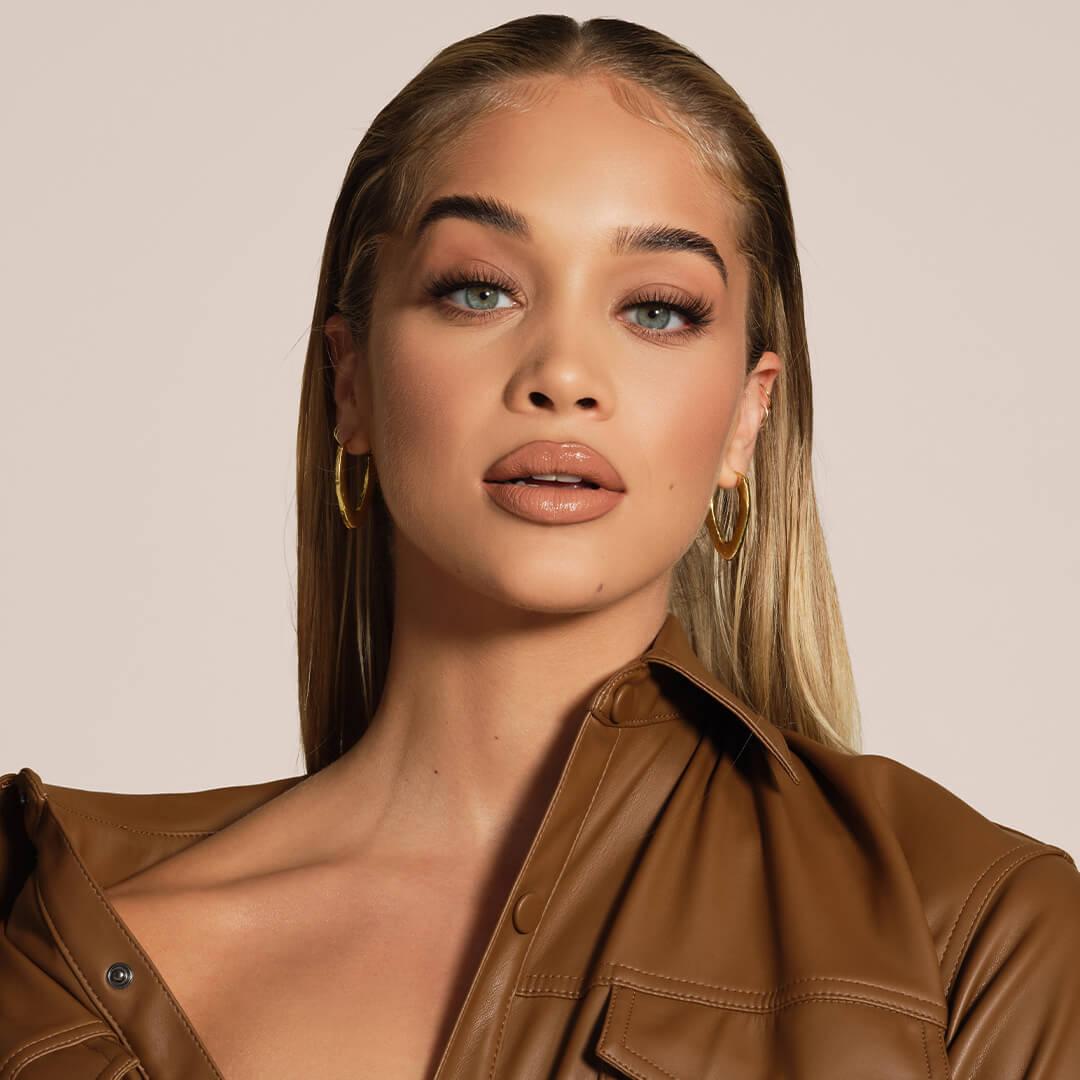
You’d be hard pressed to catch a Patrick Ta client without his signature glow. “I think powder always makes photographs look better, but you need a cream highlighter to bring the skin back to life,” says Patrick. Press some into the high points of your forehead (above your brow arches) and your cheekbones. For the real Patrick Ta effect, take a bit across your collar bones and down your arms if they’re exposed, too.
The final step for your Patrick Ta look is setting spray. “I will always set the face to melt all those powder particles into the face and make it look like skin,” says Patrick. “I like to spray just around the perimeter to leave the center of your face nice and matte.”
Want to try out this look using Patrick’s product picks? We got you! Sign up for Glam Bag X now to be first on the list and reserve your spot before we run out—Glam Bag x Patrick Ta quantities are limited. And don’t forget to follow us on Instagram and Twitter @IPSY for all your Glam Bag news.
Liked this post? Share!
Related Stories
Makeup
How to Expertly Apply Eyeshadow on Mature Skin
Published on Dec 10, 2025 • 6 min read

Makeup
How to Use Bronzer and Contour to Sculpt Your Face Like a Pro
Published on Dec 5, 2025 • 9 min read


Makeup
Makeup for Older Women That Works With Your Skin, Not Against It
Published on Dec 1, 2025 • 12 min read


Makeup
2026’s Biggest Makeup Trends Are a Maximalist Dream
Published on Dec 1, 2025 • 8 min read


Makeup
2025’s Biggest Makeup Trends: Go Big or Go Home
Published on Dec 13, 2024 • 7 min read


Makeup
16 New Year’s Eve Makeup Ideas to Fashionably Ring in 2026
Published on Nov 25, 2025 • 10 min read


Makeup
Your 2026 Beauty Horoscope Is Here—and the Stars Are Serving Looks
Published on Nov 25, 2025 • 9 min read


Makeup
Holiday Party Makeup Ideas for When You Want to Go Full Festive
Published on Nov 24, 2025 • 9 min read


Beauty Picked Just for You
Get 5 products worth up to $70
Plus exclusive access to epic deals up to 80% off
Starting at just $14/month. Cancel anytime.