All the Concealer Hacks You Never Knew You Needed


Cortney Clift


Concealer is truly the MVP of face makeup. Dealing with a bad breakout? Under-eye circles? Dark spots? Concealer is always there and ready to work. There are so many different ways to use this beauty product and it can come in a number of different forms. Let’s break it all down so that you are confident that you’re maxing out your concealer’s potential.


It's about glam time you treated yourself.
So, What is Concealer?
Concealer is typically a cream or liquid product that helps to cover up blemishes and color correct in small areas around the face (like red spots and dark circles). It comes in a few different forms (more on that shortly) and should be applied after moisturizer, primer, and foundation, but before powder. You will sometimes find different types of concealer for different areas of the face. A spot concealer might be quite thick while an undereye concealer might be more on the liquid side.
What’s the Difference Between Foundation and Concealer?
Both products are designed to help achieve an even complexion, but they each go about it in different ways. Foundation is designed to be applied all over the face to create a uniform skin tone. Concealer, on the other hand, is designed to only be applied to specific, small areas of the face. Foundation should mostly help you achieve a smooth complexion, but if there are any spots where it needs a little extra help concealer is there to finish the job. For more info on the difference between these two beauty products check out our guide here.
How Many Different Types of Concealer Are There?
Now that we have a grasp on what concealer is, let’s go over the three main forms you’re likely to find it in.

Color-Correcting Concealer
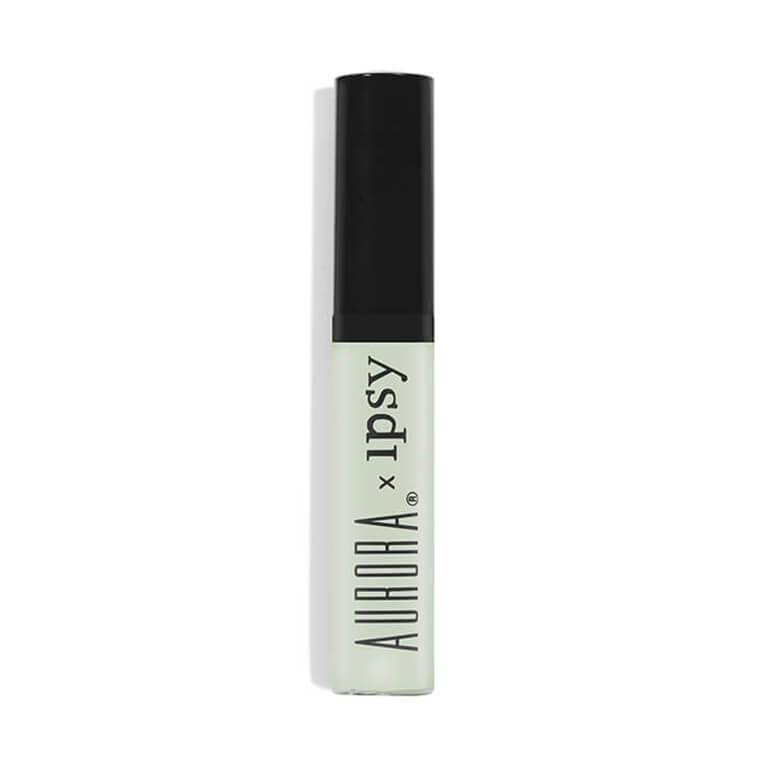
These concealers will likely be the most confusing to anyone not familiar with how they work as they can look more like face paint in the packaging. They typically come in red (like this one), yellow, purple, and green (like this one). When applied to the face, these colors work to balance out the skin’s undertones and improve any discoloration. For example, a purple color corrector works to balance out yellow undertones and green will counteract redness. While these colors can look quite vivid in the packaging, they appear mainly neutral when applied to the skin.
Under-Eye Concealer
Technically, any concealer can be an under-eye concealer. However, there are few targeted formulas that are specifically made to tackle under-eye circles (in addition to color correcting). The concealers made for this area of the face tend to be a liquid formula so that they can blend easily into delicate under-eye skin. Check out our favorite under-eye concealers here.

Blemish and Dark Spot Concealer
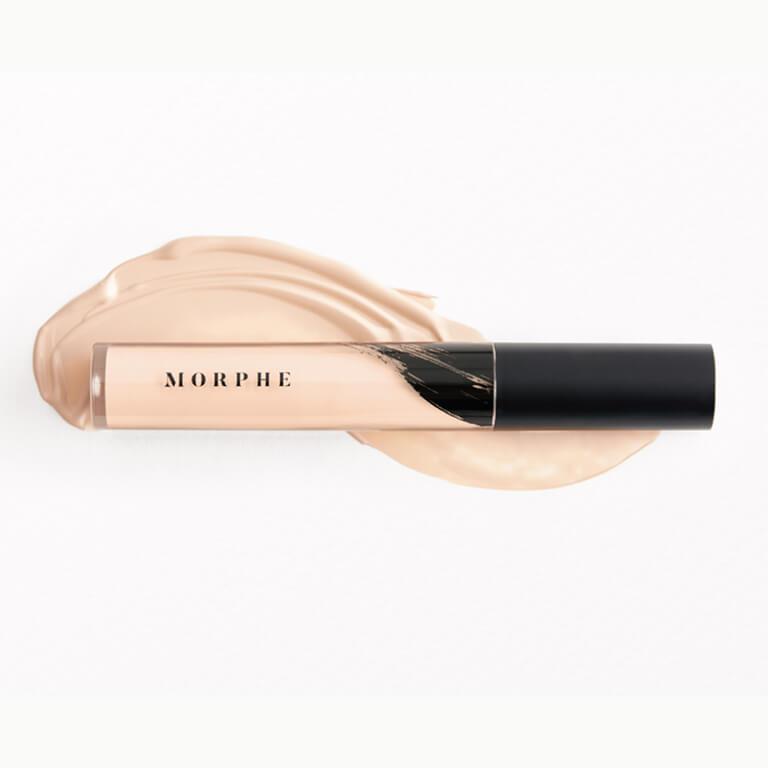
Again, any concealer can technically be used as a blemish or dark spot concealer, but there are formulas made specifically with this purpose in mind. These tend to be more full-coverage concealers like MORPHE Fluidity Full-Coverage Concealer and are most commonly found as cream concealers.
How to Apply Concealer
Before applying concealer, apply moisturizer, primer, and foundation first. After these have all been applied to the skin, assess your skin. Have a breakout that’s not quite covered up? Some dark under-eye circles that are still standing out? Now is when you’ll go in and use concealer to correct those areas. In addition to smoothing out blemishes and under-eye circles, you can also apply concealer to any other areas of the face where you notice discoloration. Once you’re happy with how your skin looks, apply a setting powder to keep all your hard work in place. For a full tutorial, check out our guide on how to apply concealer.
Tips & Tricks
Now that you have the basics down, let’s move into some makeup artist-approved tips and tricks you can try when using concealer.
Concealer Hack #1: Use Concealer to Highlight
When contouring your face, you can use a concealer pencil (like one from this set) or a liquid concealer like the MORPHE Fluidity Full-Coverage Concealer to act as your highlight. For this to work well, you should use a concealer that’s one to two shades lighter than your natural skin tone. If you’re new to contouring, a highlight is typically applied to the apples of the cheeks, in the middle of the forehead, in the center of the chin, and along the bridge of the nose.
Concealer Hack #2: Draw Upside Down Triangles for Full-Face Contouring
For this hack, you’ll start by applying a diagonal line of concealer from the inner corner of the eye down to the center point of your cheek (the end of the line should line up with the bottom of your nose). Draw another diagonal line from the outer corner of the eye to that same point so that the two lines now connect, forming a triangle. Finally draw a line at the top, following the lash line and connecting the two.
Without filling in the triangle, use a brush or a makeup sponge to blend those three lines into the skin. Blend the two diagonal lines outward, one toward the nose and the other toward the outer cheek. Blend the line of concealer along the lash line out and underneath the eye. This shape will do wonders to brighten and lift to the face.
Concealer Hack #3: Mix Your Eye Cream and Concealer Together for the Ultimate De-Puffing
On a day when you need some extra help in the under-eye department, combine your under-eye cream with your under-eye concealer for the ultimate under-eye treatment. Mixing the two together can also help if your concealer has gone a bit dry or cakey. The cream will moisten things up and allow the product to glide on super smooth.
Concealer Hack #4: Set Your Concealer to Prevent Creasing
Creasing is concealer’s biggest nemesis. To avoid concealer settling into fine lines and wrinkles, use a translucent powder to “bake” the concealer. To do this, dusting a thick layer of translucent powder over wherever you’ve just applied concealer. Leave it on for a few minutes, allowing your body heat to fuse the two products together. Then, use a makeup brush to dust off the excess.
Concealer Hack #5: Use Concealer to Reverse-Line Your Lips
To make lips appear fuller, trace the outline of your lips with concealer using a concealer brush (like this one) to blend. This will make it much easier to apply lip liner and lipstick just outside of your natural lip line.
Want in on all the Glam Bag fun? Take the Beauty Quiz now to get started. And don’t forget to check us out on Instagram and Twitter @IPSY.
Liked this post? Share!
Related Stories
Makeup
Want an IRL Filter? These Are the Best Blurring Foundations
Published on Dec 12, 2025 • 5 min read
Makeup
How to Expertly Apply Eyeshadow on Mature Skin
Published on Dec 10, 2025 • 6 min read

Makeup
How to Use Bronzer and Contour to Sculpt Your Face Like a Pro
Published on Dec 5, 2025 • 9 min read


Makeup
Makeup for Older Women That Works With Your Skin, Not Against It
Published on Dec 1, 2025 • 12 min read


Makeup
2026’s Biggest Makeup Trends Are a Maximalist Dream
Published on Dec 1, 2025 • 8 min read


Makeup
2025’s Biggest Makeup Trends: Go Big or Go Home
Published on Dec 13, 2024 • 7 min read


Makeup
16 New Year’s Eve Makeup Ideas to Fashionably Ring in 2026
Published on Nov 25, 2025 • 10 min read


Makeup
Your 2026 Beauty Horoscope Is Here—and the Stars Are Serving Looks
Published on Nov 25, 2025 • 9 min read


Beauty Picked Just for You
Get 5 products worth up to $70
Plus exclusive access to epic deals up to 80% off
Starting at just $14/month. Cancel anytime.